Testing sensors
- In the Dagster UI
- With the CLI
- In Python
Before you test: Test evaluations of sensors run the sensor's underlying Python function, meaning that any side effects contained within that sensor's function may be executed.
In the UI, you can manually trigger a test evaluation of a sensor and view the results.
-
Click Overview > Sensors.
-
Click the sensor you want to test.
-
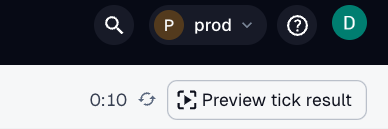
Click the Preview tick result button, located near the top right corner of the page.
-
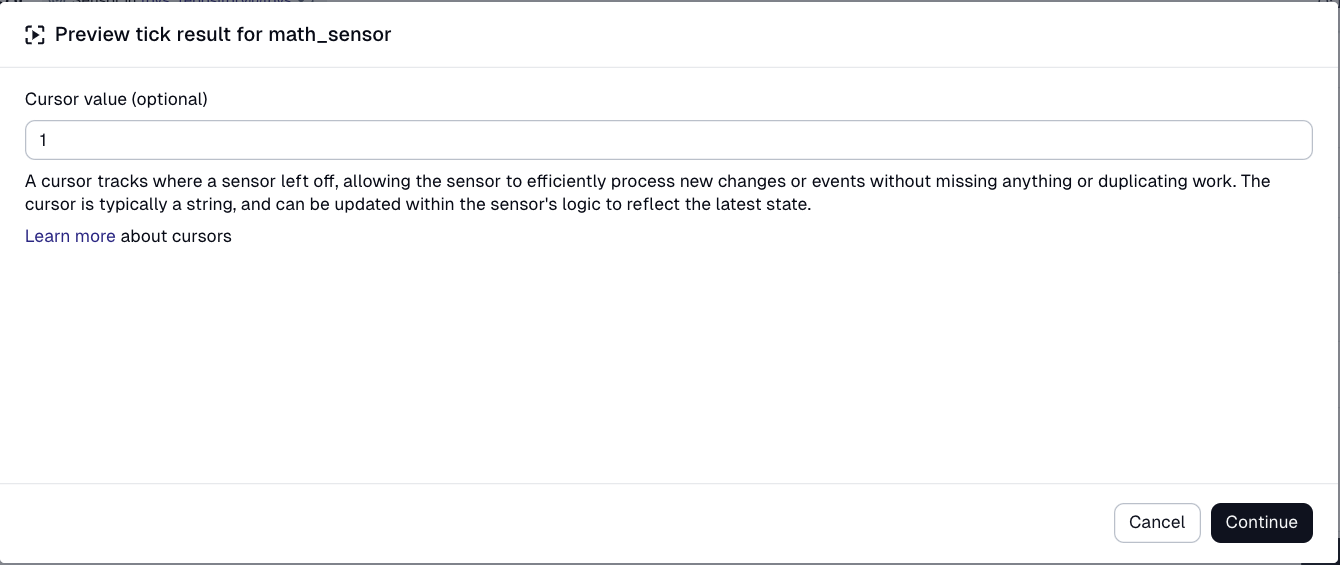
You'll be prompted to provide a cursor value (optional). You can use the existing cursor for the sensor (which will be prepopulated) or enter a different value. If you're not using cursors, leave this field blank.
-
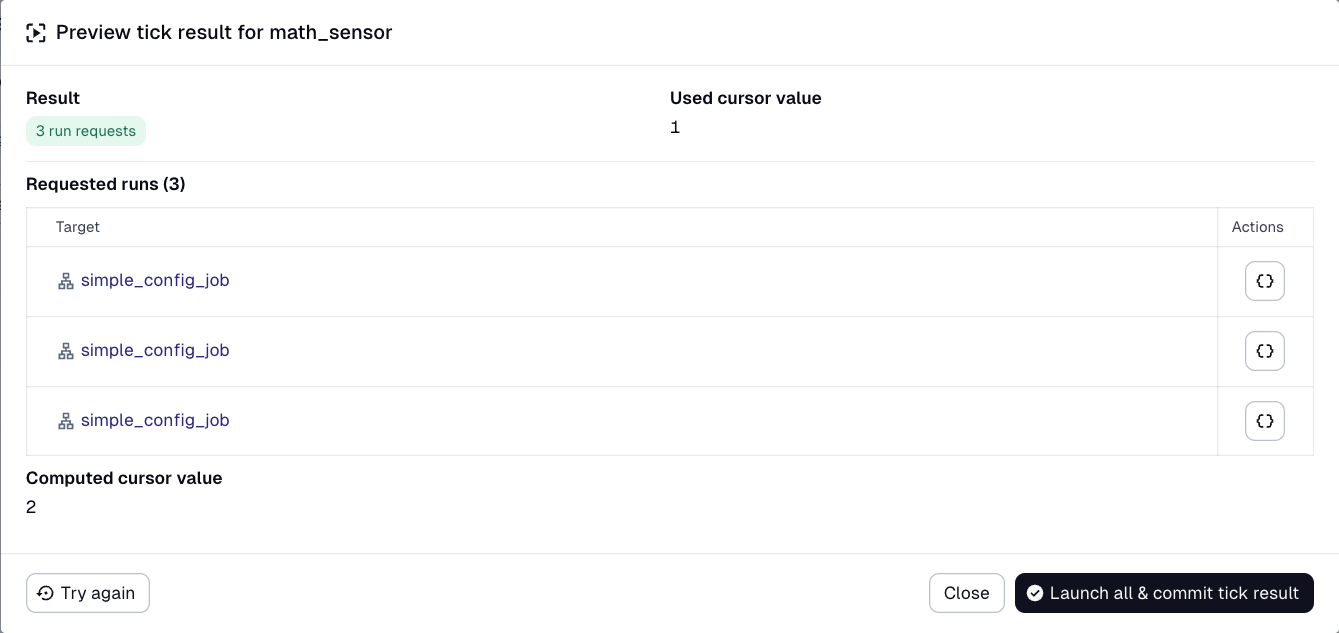
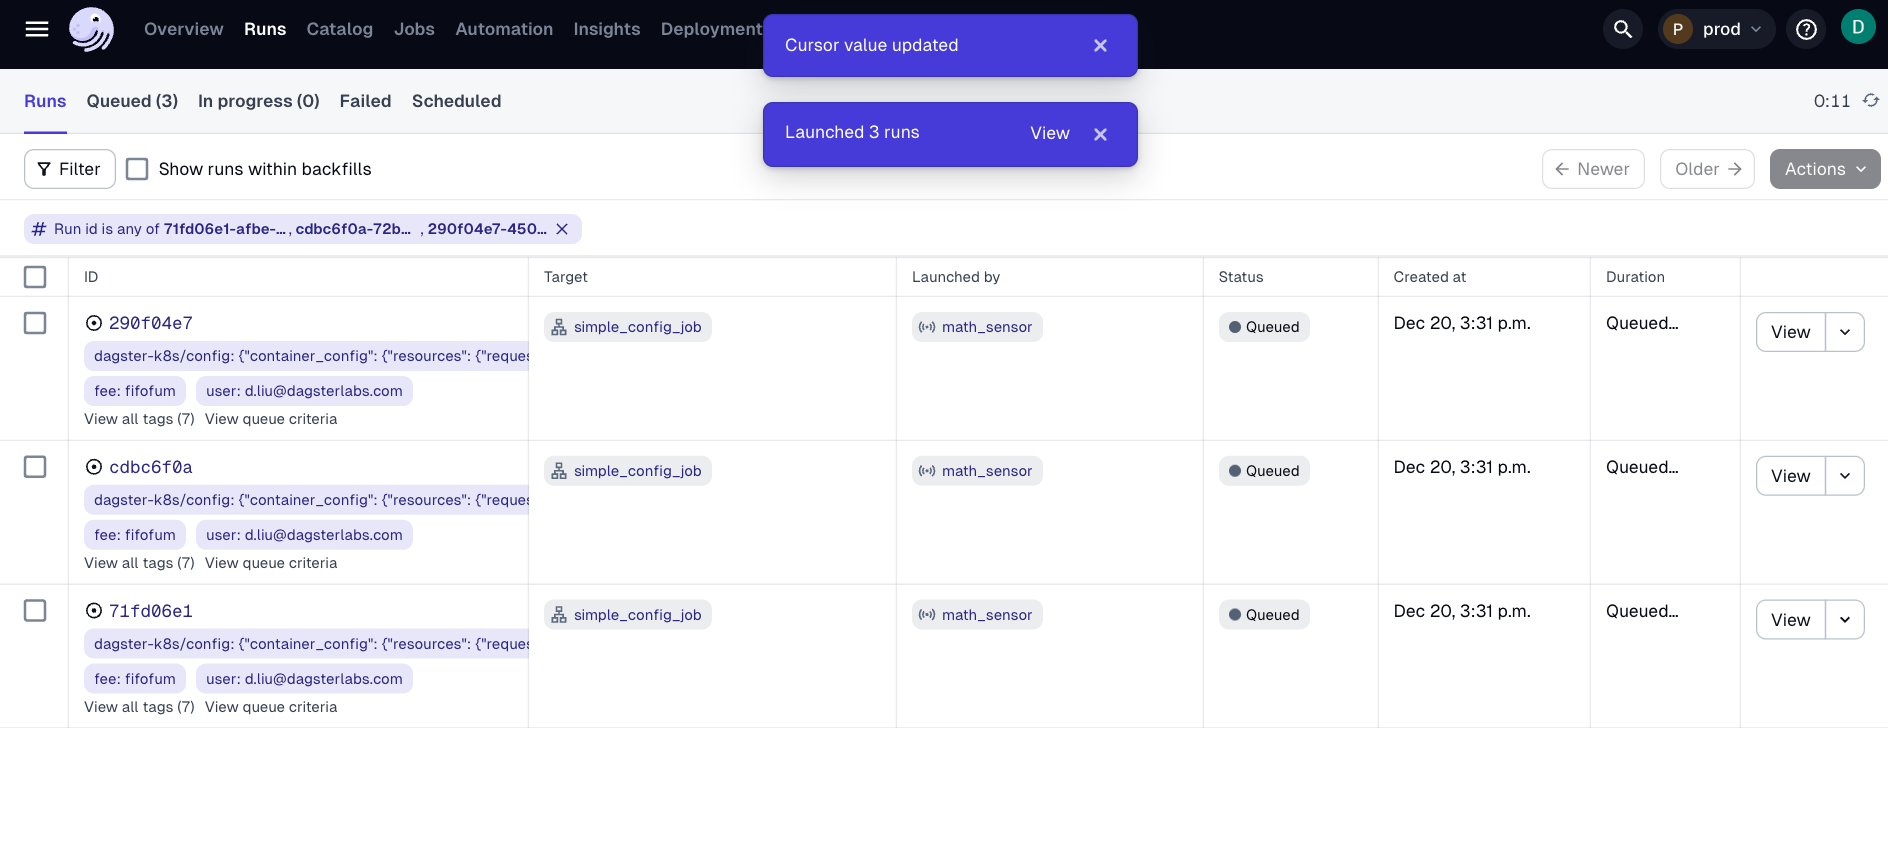
Click Continue to fire the sensor. A window containing the result of the evaluation will display, whether it's run requests, a skip reason, or a Python error:
-
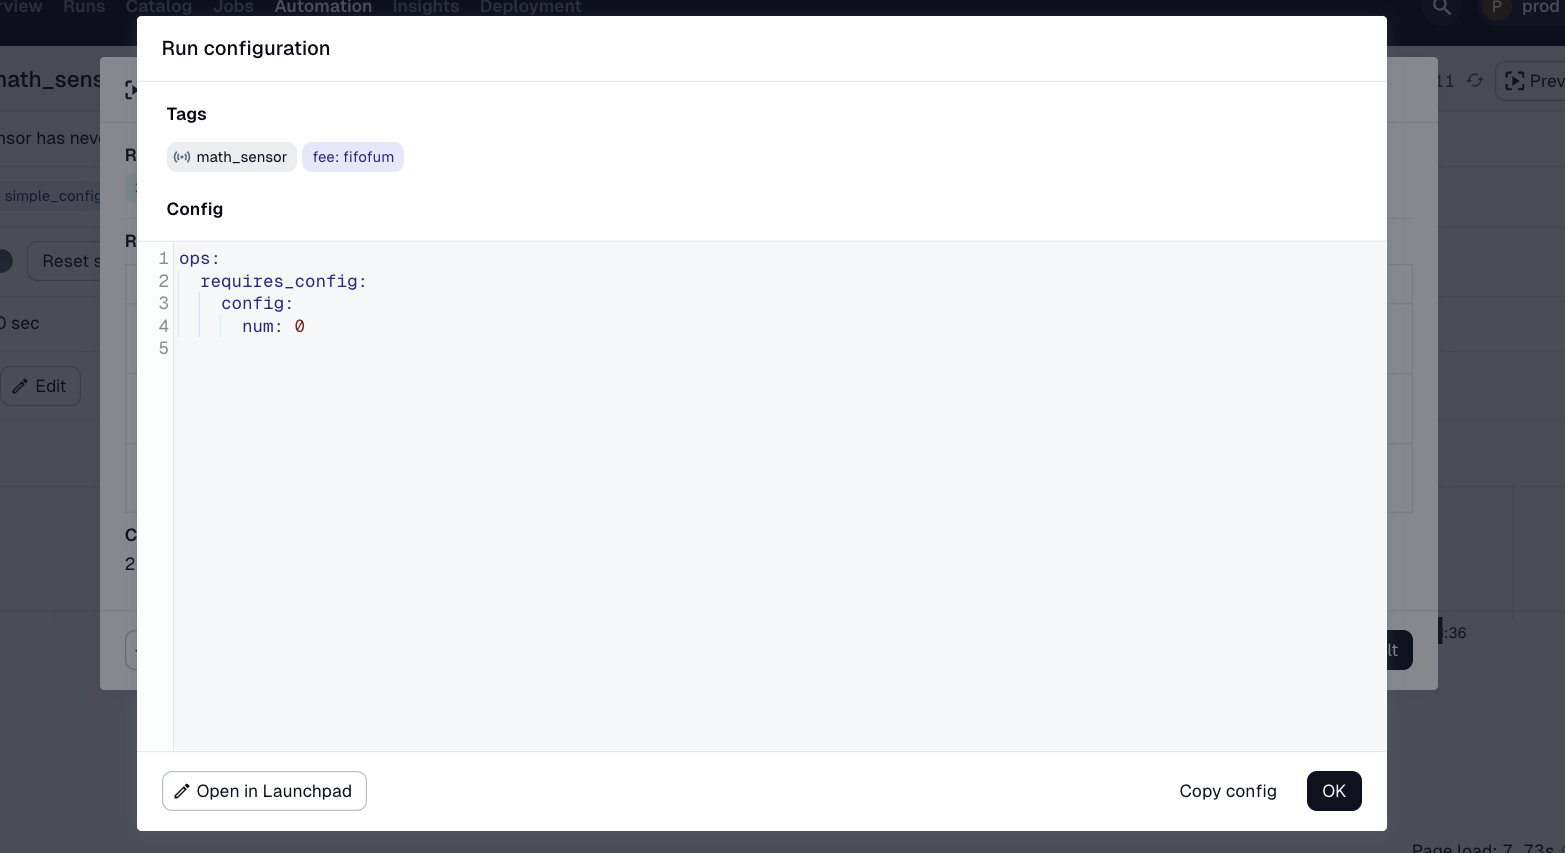
If the preview was successful, then for each produced run request, you can view the run config and tags produced by that run request by clicking the button in the Actions column.
-
Click the Launch all & commit tick result on the bottom right to launch all the run requests. It will launch the runs and link to the /runs page filtered to the IDs of the runs that launched.
To quickly preview what an existing sensor will generate when evaluated, run the following::
dagster sensor preview my_sensor_name
To unit test sensors, you can directly invoke the sensor's Python function. This will return all the run requests yielded by the sensor. The config obtained from the returned run requests can be validated using the validate_run_config function:
from dagster import validate_run_config


@sensor(target=log_file_job)
def sensor_to_test():
    yield RunRequest(
        run_key="foo",
        run_config={"ops": {"process_file": {"config": {"filename": "foo"}}}},
    )


def test_sensor():
    for run_request in sensor_to_test():  # ty: ignore[not-iterable]
        assert validate_run_config(log_file_job, run_request.run_config)  # ty: ignore[unresolved-attribute]
Notice that since the context argument wasn't used in the sensor, a context object doesn't have to be provided. However, if the context object is needed, it can be provided via build_sensor_context. Consider again the my_directory_sensor_cursor example:
@sensor(target=log_file_job)
def my_directory_sensor_cursor(context):
    last_mtime = float(context.cursor) if context.cursor else 0

    max_mtime = last_mtime
    for filename in os.listdir(MY_DIRECTORY):
        filepath = os.path.join(MY_DIRECTORY, filename)
        if os.path.isfile(filepath):
            fstats = os.stat(filepath)
            file_mtime = fstats.st_mtime
            if file_mtime <= last_mtime:
                continue

            # the run key should include mtime if we want to kick off new runs based on file modifications
            run_key = f"{filename}:{file_mtime}"
            run_config = {"ops": {"process_file": {"config": {"filename": filename}}}}
            yield RunRequest(run_key=run_key, run_config=run_config)
            max_mtime = max(max_mtime, file_mtime)

    context.update_cursor(str(max_mtime))
This sensor uses the context argument. To invoke it, we need to provide one:
from dagster import build_sensor_context


def test_my_directory_sensor_cursor():
    context = build_sensor_context(cursor="0")
    for run_request in my_directory_sensor_cursor(context):  # ty: ignore[not-iterable]
        assert validate_run_config(log_file_job, run_request.run_config)  # ty: ignore[unresolved-attribute]
Testing sensors with resources
For sensors that utilize resources, you can provide the necessary resources when invoking the sensor function.
Below is a test for the process_new_users_sensor that we defined in Using resources in sensors, which uses the users_api resource.
import dagster as dg

def test_process_new_users_sensor():
    class FakeUsersAPI:
        def fetch_users(self) -> list[str]:
            return ["1", "2", "3"]

    context = dg.build_sensor_context()
    run_requests = process_new_users_sensor(context, users_api=FakeUsersAPI())
    assert len(run_requests) == 3  # ty: ignore[invalid-argument-type]